
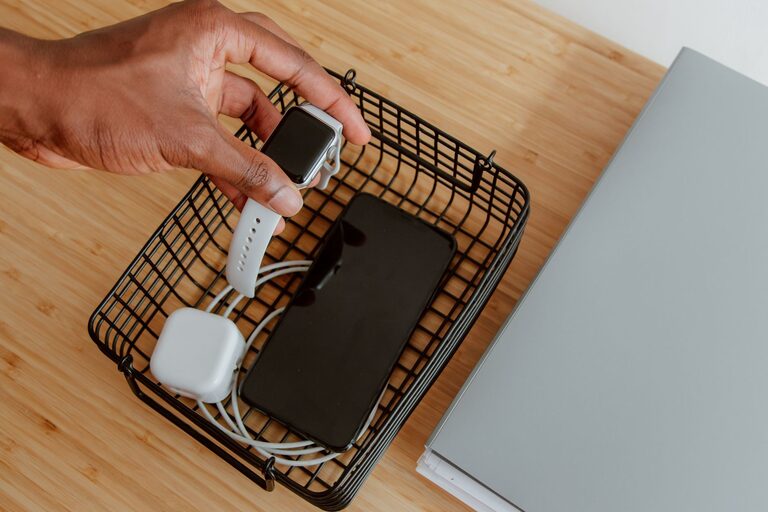
How to Set Up a Charging Station for Your Devices at Home
Setting up a dedicated charging station for your devices is a simple way to keep your home or office organized while ensuring all your gadgets stay powered up. Whether you have smartphones, tablets, smartwatches, or wireless earbuds, having a central place to charge them saves time and reduces clutter. In this guide, we’ll cover everything you need to know to create an effective and user-friendly charging station.
Why Set Up a Charging Station?
With multiple devices in the home, cables can quickly become a tangled mess, and devices may get lost or die at inconvenient moments. A charging station:
– Keeps cables organized and untangled
– Provides a designated spot for all devices
– Prevents forgetting to charge devices before heading out
– Protects gadgets from accidental damage by keeping them in one place
Now, let’s look at how to plan and assemble your charging station.
Step 1: Choose the Right Location
The first step is picking a convenient and accessible spot for your charging station. Consider these factors:
– Central location: Areas like the living room, kitchen counter, or a home office desk work well since these places are visited often.
– Power source: Ensure the spot has easy access to outlets or power strips.
– Space: Make sure there’s enough flat surface to place your devices and the charging equipment without crowding.
Avoid cluttered or high-traffic areas where cords may get pulled or devices knocked over.
Step 2: Select Your Charging Equipment
Depending on how many devices you want to charge, you’ll need to gather the right charging accessories:
Power Strips or Surge Protectors
Choose a power strip with enough outlets to accommodate all chargers. A surge protector is recommended to safeguard your electronics from power spikes.
Multi-Port USB Chargers
A multi-port USB charger allows multiple devices to charge simultaneously with fewer cables. Look for one with Smart IC technology, which optimizes charging speeds for each device.
Wireless Charging Pads or Stands
If you have devices that support wireless charging, consider adding a charging pad or stand. This reduces cable clutter and makes charging effortless.
Cable Organizers and Holders
To keep cables neat, use cable clips, sleeves, or organizers. These prevent tangling and make it easy to identify cords.
Step 3: Gather Your Device Chargers
Collect all the charging cables you plan to use at the station. It’s a good idea to:
– Sort cables by device type (Lightning, USB-C, Micro-USB)
– Check cables for wear and replace any damaged ones
– Label cables if multiple people share the station
Keeping compatible cables for your devices ensures smooth charging without mixing up connectors.
Step 4: Assemble and Organize Your Charging Station
Now that you have the location and equipment, it’s time to put everything together.
Layout Plan
– Place the power strip or multi-port charger near the power source
– Position the charging pads or docks on the surface
– Arrange device placements so they don’t overlap and are easy to reach
Organize Cables
– Use cable clips or ties to bundle excess cable length
– Route cables neatly along edges or under the surface if possible
– Consider using a charging box or container with built-in cable management for a cleaner look
Safety Tips
– Avoid overcrowding power outlets
– Keep liquids away from the charging station
– Ensure chargers and cables are certified and in good condition
Step 5: Maintain Your Charging Station
A charging station will serve you best if you keep it tidy and functional:
– Regularly dust and wipe down the area and chargers
– Check cables for wear and replace as needed
– Remove devices once fully charged to free up space
– Update equipment as technology changes (for example, new charging standards)
Bonus Tips for a Better Charging Station
– Add Labels: Mark charging spots for specific devices to avoid confusion.
– Use Vertical Stands: Vertical organizers save surface space and look sleek.
– Incorporate Storage: Add drawers or small containers to keep extra cables, adapters, or accessories.
– Personalize: Choose colors or designs that match your décor for a pleasant look.
Conclusion
Creating a dedicated charging station is a practical, easy project that keeps your devices powered and your space clutter-free. By selecting the right location, using efficient charging equipment, and organizing cables properly, you’ll enjoy a smooth and stress-free charging experience. Start today and say goodbye to tangled cords and dead batteries!
